
Using nRF Connect SDK with CLion
Previously we established how it is possible to use Nordic's nRF5 SDK with CMake and CLion. In April 2020 Nordic released version 1.0.0 of nRF Connect SDK, the new platform for Nordic products moving forward. This SDK is based on the Zephyr RTOS. Zephyr uses CMake as its build system, making it is much easier to use in CLion than the nRF5 SDK. However, there is some setup that we need to do.
Prerequisites
The nRF Connect SDK supports nRF52 series SOCs in addition to the newer nRF53 and nRF91 SOCs. All development kits and Thingy boards are supported. The nRF Connect SDK can be used on Windows, macOS and Linux.
Setting up the toolchain and SDK
The best way to set up the SDK and toolchain on Windows and macOS is using the nRF Connect Toolchain Manager. This is the simplest way to get set up, and it also ensures that all toolchain dependencies are in one place and at the right versions for that SDK version.
Manual setup instructions are available too, which can be used for setup on Linux.
Throughout this tutorial, when paths to the SDK are needed, we will use <ncsroot> as a placeholder. If using the Toolchain Manager with version 1.4.2, on Windows this would be C:\Users\<user>\ncs\v1.4.2, on macOS this would be /opt/nordic/ncs/v1.4.2.
Creating a custom project to use in CLion
Find a relevant sample from the SDK in the
<ncsroot>/nrf/samplesdirectory. Copy this to a convenient location on your system. Rename the directory if you wish.Open the project in CLion. Ignore any errors for now.
We will modify the project to support both debug and release configurations. Most of the project configuration is done in the
prj.conffile. Duplicate this file and rename the two filesprj.ZDebug.confandprj.ZRelease.conf.Open
prj.ZDebug.confand at the bottom add:# Use RTT instead of UART for debug output (optional) CONFIG_USE_SEGGER_RTT=y CONFIG_RTT_CONSOLE=y CONFIG_UART_CONSOLE=n # Optimize for debug CONFIG_DEBUG_OPTIMIZATIONS=yOpen
prj.ZRelease.confand at the bottom add:# Use RTT instead of UART for debug output (optional) CONFIG_USE_SEGGER_RTT=y CONFIG_RTT_CONSOLE=y CONFIG_UART_CONSOLE=n # Optimize for speed. See https://docs.zephyrproject.org/latest/reference/kconfig/choice_471.html#choice-471 for other options CONFIG_SPEED_OPTIMIZATIONS=y # Disable assertions in the Zephyr Kernel. Improves execution speed and prevents a CMake configure warning. See https://docs.zephyrproject.org/latest/reference/kconfig/CONFIG_ASSERT.html CONFIG_ASSERT=nIn CLion preferences, go to
Build, Execution, Deployment > CMake. There should be an existing "Debug" profile. Change the "Build type" to "ZDebug".- The reason we use
ZDebuginstead ofDebugis CMake has predefined configuration for the Debug and Release configurations – compile flags etc. Zephyr manages all configuration through KConfig, so we don't want the existing CMake configuration to interfere with the KConfig configuration. Because of this, if you use "Debug" or "Release" Zephyr will throw a warning about mismatched compile optimisation flags.
- The reason we use
Next we need to edit the environment variables for Zephyr.
We need to set the environment variables in the CLion profile because this propagates them to processes launched by CMake, so targets that use
westwill work. If we set the environment variables inCMakeLists.txt, they would not propagate to launched processes.If you are using the toolchain manager, click the down arrow next to the NCS version installed and "Open Terminal" (macOS) or "Open Bash" (Windows). Then paste:
echo "BOARD=nrf52dk_nrf52832;ZEPHYR_BASE=$(pwd);PATH=$PATH;GIT_EXEC_PATH=$GIT_EXEC_PATH;ZEPHYR_TOOLCHAIN_VARIANT=$ZEPHYR_TOOLCHAIN_VARIANT;GNUARMEMB_TOOLCHAIN_PATH=$GNUARMEMB_TOOLCHAIN_PATH"To copy the result directly to the clipboard, add
| clip(Windows) or| pbcopy(macOS) and hit return. Paste the result into the "Environment" box in CLion.If you have installed manually, paste the following in the "Environment" box and modify.
BOARD=nrf52dk_nrf52832;ZEPHYR_BASE=<ncsroot>;PATH=<ncsroot>/toolchain/bin:<existing path>;GIT_EXEC_PATH`=<ncsroot>/toolchain/Cellar/git/2.26.2/libexec/git-core;ZEPHYR_TOOLCHAIN_VARIANT=gnuarmemb;GNUARMEMB_TOOLCHAIN_PATH=<ncsroot>/toolchain- Modify
ZEPHYR_BASE,GIT_EXEC_PATHandGNUARMEMB_TOOLCHAIN_PATHreplacing<ncsroot> - The NCS toolchain must come before other paths in the
PATHvariable. CLion does not yet support variable expansion in environment variables so you need to enter the whole path, replacing<existing path>. To obtain the path to use, in a shell enterecho $PATH(macOS and linux) or in command promptecho %PATH%(Windows).
- Modify
If you want to use a different board than the nRF52 DK, you will need to modify the
BOARDenvironment variable to the board you want to use. The boards available are defined here in the "Build target" column. There is also a webinar and guide you can follow to create a custom board.

Configuring the ZDebug and ZRelease profiles in CLion
Duplicate the "ZDebug" profile and modify the new profile's "Build type" to "ZRelease". Click OK.
Open the
CMakeLists.txtfile. Before thefind_package(Zephyr ...)line, insert:if (NOT CMAKE_BUILD_TYPE) set(CMAKE_BUILD_TYPE ZDebug) endif() # Point to the build type-specific config file set(CONF_FILE "prj.${CMAKE_BUILD_TYPE}.conf")Click
Tools > CMake > Reset Cache and Reload Project.You can now use the
zephyr_finaltarget to build<project dir>/cmake-build-<profile>/zephyr.hex, and theflashtarget to build and flash to the board.You can get RTT output by following the steps in Nordic's "Testing with a sample application" guide. Essentially, after installing the JLink software and documentation pack, run:
- Windows:
JLinkRTTViewer.exe - macOS:
open /usr/local/bin/JLinkRTTViewer.app - Linux:
JLinkRTTViewerExe
- Windows:
Next we will set up debugging. On the top right of the CLion window, click the configuration drop down and “Edit Configurations”. Then add a new “Embedded GDB Server” configuration:

Adding an embedded GDB server configuration
Configure as shown:

Creating the debug configuration
- Set a name
- Share through VCS to share this with other CLion users of your project
- Select the
flashtarget - Select the
zephyr_finalexecutable - Set
Download executabletoNone - Set
Target remote argstotcp:localhost:2331 - Set GDB Server to
/usr/local/bin/JLinkGDBServer - Set GDB Server args to
-device nrf52 -strict -timeout 0 -nogui -if swd -speed 4000 -endian little -s
- All done! Now you can build this target, which will build and flash to the softdevice, or you can debug. When debugging, if your breakpoint is not hit when the debugger starts, just press the reset button and continue:

Resetting the target
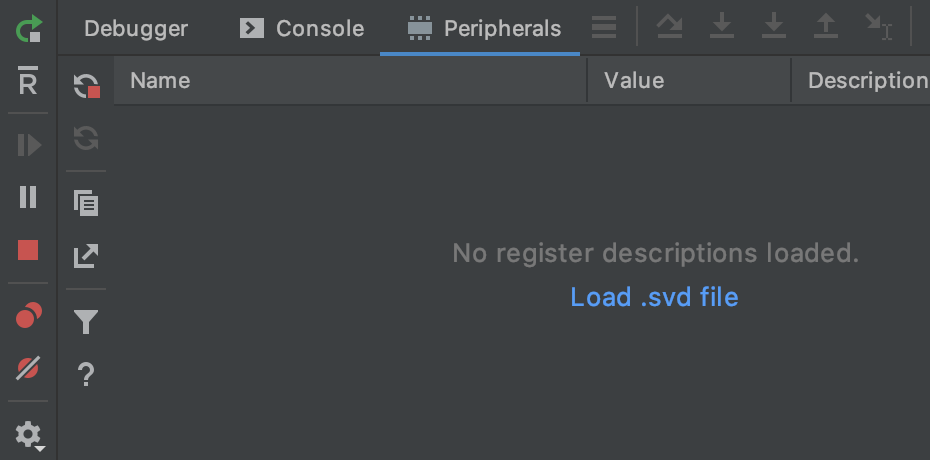
- You can also view the state of peripherals on the device when debugging. When debugging click the "Peripherals" tab and click "Load .svd file":
- Browse to
<ncsroot>/modules/hal/nordic/nrfx/mdkand select the .svd file for your hardware (for nRF52832 usenrf52.svd), then select the peripherals you want to monitor. When the debugger is paused you will then be able to inspect the values of peripheral registers:

Viewing the peripheral registers
- In addition to using CLion for debugging, it's sometimes useful to use Segger Embedded Studio (SES). This is Nordic's officially supported IDE so is good to test with if you are having issues. In addition, when debugging you can see RTT output directly in the IDE with no configuration. You can open your project just like any sample project by following the instructions in the guide.